Just getting ready for a spot of DIY

Hopefully this will be the first of many housey DIY projects…fingers crossed. It’s also number 2 on my Top Ten Project List that I started way back in November. The aim of this DIY project? To turn my cupboard under the stairs turn junk room back into the pantry of my dreams! A place where I can store all the lovely bulk bought bargains (such as baked beans and chopped tomatoes) with the intention of becoming more money efficient.

However, before any kind of DIY can commence it has got to be cleared out. Back in November when I started my project list it was pretty clear…

November

November – I must have been so organised!

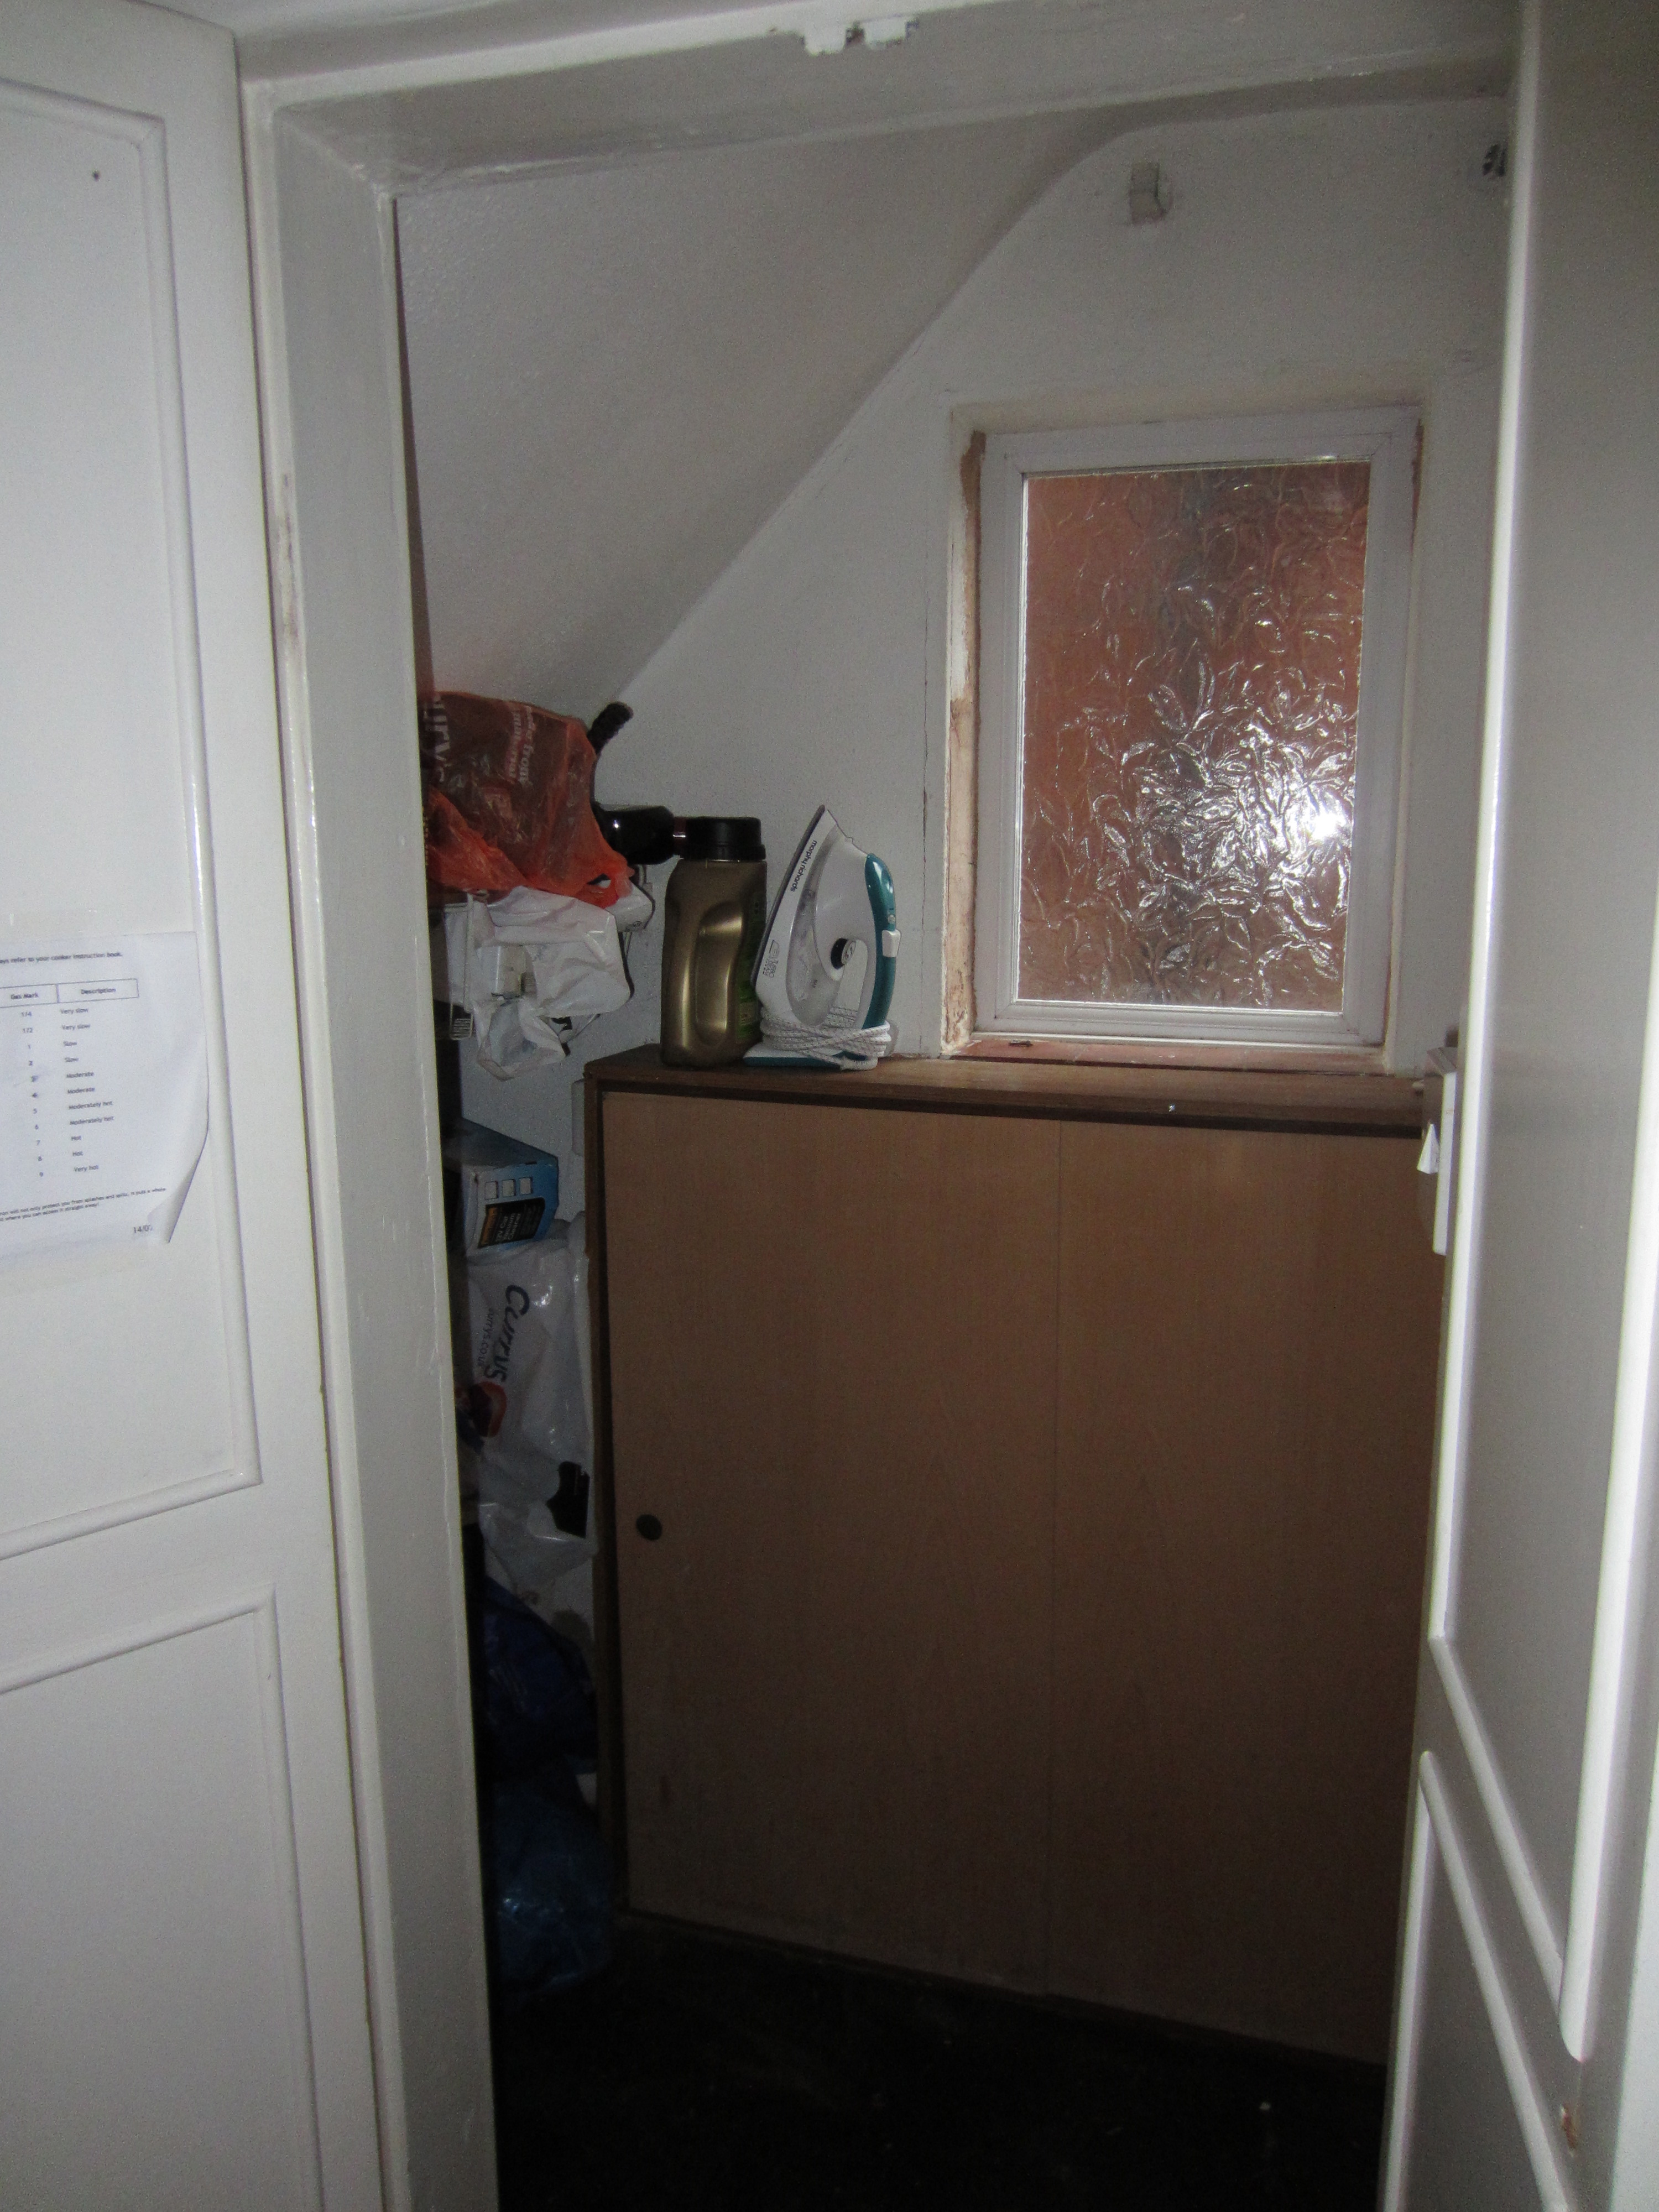
Scroll forwards 4 months and after being used as a ‘what shall I do with this? I don’t know let’s just hide it in here’ cupboard it now looks like this…

So after many hours of emptying, sorting out and asking myself “do I really need to save this?’ over and over again my little cupboard under the stairs but soon to be amazing pantry of my dreams looks like this…TA DA…empty!

My Empty Pantry

My Empty Pantry

After clearing it out the hope was to get the cracks filled in, paint it a lovely light colour that isn’t white, install good quality shelves and find and install some sort of storage unit to hang on the door. I am also considering some sort of wheely shelving unit to wheel in and out of the cupboard. This was going completely to plan until it came to taking all of the hooks and screws at of the wall. It was at this point that our theory that the previous owners were complete dunces at DIY was confirmed. What confirmed our theory?? The fact that they GLUED hooks to the wall instead of screwing them in!!!

Who glues hooks to a wall???

Who glues hooks to a wall???

This meant that when it came to taking them off of the wall it also took off the plaster, meaning that no longer was it acceptable to just fill in the holes and the cracks. We now need to plaster it…GRRRRRR! I can’t tell you how frustrating that is. So, now we wait for the return call of several plasters. If it all goes to plan this is hopefully something similar to what it will look like at the end…fingers crossed


My Upholstery Journey To Reading Chair Heaven Update

Wow, it has been a while since my last post. In the time since posting I have gotten married, been on honeymoon and settled into married life. Even though I promised myself that I wouldn’t let wedding related stuff take over my life…I did. Those last few weeks before the wedding were crazy and I can honestly say stressful. Although I didn’t turn into the stereotypical bridezilla, there were plenty of tears, tantrums and nerves. The day itself though was amazing and after the stress of wedding planning the honeymoon was just what we needed.

We have now been married for nearly 6 weeks and are starting to think about properly setting up our home. It was pretty much impossible to even consider any kind of decoration or house renovation due to putting all spare cash towards the wedding. Now that the wedding has been and gone though, we can now start to plan the house renovations (although these will be slow due to having to replenish our much depleted savings). With this in mind I thought I would share my upholstery project!

Here is a reminder of how it looked before I began reupholstering it.

Before

Before – nasty fabric, filthy and smelly.

That was how it was in September. Since then I have been spending 1 day a week at college, where I have stripped it down to its bare wood, rebuilt it up by adding the webbing, hessian, foam, and fire resistant calico. It has taken a lot of time and energy but it is looking great.

3/4 of the way through - Before any of the top fabric went on.

3/4 of the way through – Before any of the top fabric went on.

It has a slightly different shape to before but it is lovely…and so comfortable! It’s going to make a great reading chair for my living room. In this picture you cannot see the cushion that will go on top of the seat for people to sit on (just like in the first image).

I always knew that I wanted to use two different fabrics. Originally the plan was to having a plain fabric and also one that had thin stripes on it, ideally in a light blue colour. However, this soon changed when I saw my final choice in top fabric! As soon as I saw it I fell in love and due to having a great conversation with the sales assistent (who also did upholstery) managed to get it at a great price. Its thick and hardwaring and, due to the quality, will withstand wiping.

My top fabric

My top fabric

The  buttoned back and seat will be done in the top (patterned) fabric and the piping, buttons, arms and the actual behind back will be done in the other fabric (plain). Incidentally these are the colours I plan to eventually use as the colour scheme in the living and dining room.

Today being a college day I have been able to work on my chair some more and have managed to start putting the top fabric on.

At the end of college today

At the end of college today

My deep buttoning

Deep buttoning close-up

As you can see today I have managed to get the plain blue on the bottom (which will sit beneath the seat cushion) and have started buttoning the top fabric onto the back of the seat (although this does need neatening up). I love it! I just know it is going to look stunning at the end once I have finished. Slowly but surely I am getting there.

Chair Update!

As you can see the chair is starting to take shape.

My Chair

I have managed to shaped the foam on the back. I can’t tell you have tricky it was to keep to the shape of the chair while maintaining the roundness of the foam. After about 3 college sessions I have finally finished shaping the foam and am getting ready to put the buttons into it. I cannot wait to see the finished chair back!


Just Call Me The Drilling Queen!

I HAVE USED THE DRILL! I managed to tick number three off of my To Do List and hang up both mirrors over the two fireplaces…YAY! The first one was pretty simple because of it being able to rest most of it’s weight on the fireplace and it not really needing any special fixings.

Mirror Number 1

The second one was a little bit trickier because of it being a really heavy mirror. Having never hung anything heavier than the typical picture (the mirror weighs between 10-15kg) I asked for the help and guidance of my dad. I did have an idea of what I needed but sometimes it just helps having someone there that knows what they are doing. So off we set for B&Q and picked up some heavy duty picture wire and heavy duty Picture Fixings designed for heavy pictures/mirrors. Then it was just a matter of using the drill to drill holes into the brickwork. It turns out that the hammer function on the drill makes it so much easier.

Mirror Number 2

I felt really empowered using the drill. I cannot wait to have to use it again! In the meantime I thought I would share a couple of pictures of me using it. Just to prove that it was me doing it.

Me drilling

Ignore the holes below, one of them was my practice hole where I worked out whether I had the right drill bit, screw and wall plug and the other one is what the previous owners left behind. When it comes to redecoating these will get filled in.

Me appreciating my handiwork


My Soon To Be Dream Dresser

As promised I did start renovating the dresser, however, I am no where near finished. The weekend just isn’t long enough!

Dresser Renovation

This is how far I got. It took me absolutely ages to take out all of the hard wear because whoever had put them in had cleverly bent some of the screw heads. But after a lot of pulling, tugging and fiddling I managed to take out every screw, hinge and door handle. I even managed to remember to put them safely in a small bag to keep them safely together. After that I set to work sanding down the top of the dresser. This is the bit that I want to leave unpainted and coat it in a clear varnish to keep it as natural as possible.

Dresser surface after first sanding

I used a medium grit sandpaper on my  Bosch Palm Sander that I was lucky enough to inherit off of my parents after they had finished sanding down their live aboard narrow boat. But even with the help of this nifty devise it still took a lot of work and a lot of arm ache. As you can see from the photo there are patched on the top that are slightly darker than the rest of it due to some of the stain still being on. THIS NEEDS TO COME OFF! I also need to do all the edges of the top. This bit I am a little nervous about doing because if I use the palm sander I could easily sand too much off and make it uneven and unrounded, but if I hand sand the edges it is a lot of hard work…hmmmmm.

In terms of finished product I would love to line the drawers (see below) with lovely bright wallpaper. It would provide a spot of colour and cheerfulness each time I opened the drawer. I would love for the inside to be just as beautiful as the outside.

In terms of the outside finished product I want it to be decorated like the picture below. The off white colour combined with the pine varnished top gives it a warm clean feel while the blue of the back makes it quite a quirky piece of furniture. I love the blue but I am unsure as to whether I will paint the inside blue. I am a little bit worried that when we do eventually get around to decorating the hallway that it won’t co-ordinate. It’s something that I need to think about. I guess I can always change it if need be.

This is the biggest project I have undertook but hopefully it will look good once it has been done. Fingers crossed.


Lego Creations For The Home You Wish You Had Created!

I recently stumbled across an article in the Daily Mail from 2009 where James May created an entire house from Lego! Completely crazy but completely genius at the same time. It made me wonder whether people do actually have functional items in their home made out of Lego. So off I went to scour the internet and here is what I found…

Source: http://www.dwell.com/articles/lego-island.html

Who would have thought to make a kitchen island out of Lego? Not me, that’s for sure but I would not mind one like this. That is if I had a bigger kitchen.

Source: http://walyou.com/lego-house/

For those of you that have a small kitchen, how about putting a Lego table in your dining room?

Source: http://www.hgtv.com/designers-portfolio/room/eclectic/kids-rooms/7974/index.html

You could then light up your dining room with your matching Lego lamp.

Source: http://randommization.com/2012/06/25/artist-makes-stair-rail-for-home-out-of-20k-lego-bricks/

Want a unique conversation starter in your hallway? This Lego stair-case bannister could be just what you are looking for.

Source: http://www.homedsgn.com/tag/wall-divider/

If you are looking for something spectacular in the office to wow you clients then you could do what this office did and use Lego as a room divider. Pretty amazing! In fact you can see the images from the big build here.

Source: http://www.geekologie.com/2012/07/functional-wheelchair-built-entirely-out.php

How about a fully functioning electronic wheelchair?

Source: http://www.homeanddecor.net/lego-bookshelf

This Lego shelving might be something that I could use in my home office/craft room. I could even colour co-ordinate the Lego brick to match the colour scheme.

Believe it or not this is a fully working radiator made to look like Lego.

I think it is official…Lego is cool!


Office/Craft Room Colour Scheme

The aim of this game is to create a bright and airy craft room/home office but at the same time create a colourful and creative space. After a good few days of trying to figure out what colour or colours I wanted to use I finally found my inspiration…drum roll please…

MY RED AND WHITE MONKEY DOORSTOP!

My Inspiration

As soon as it hit me I felt shocked that I hadn’t thought of it before! As soon as I knew that I wanted the colour scheme to be red and white I knew that I wanted to have 3 bright white painted walls (or plain wallpaper depending on the condition of the walls) and 1 feature wall with some sort of red patterned paper. So off I went in search of THE wallpaper that would fill my craft room/home office with the personality and colour I so craved. Finally after much search and many ‘debates’ with Mr H I think I have finally found THE wallpaper…

Wallpaper

…that is until another THE wallpaper comes along :-p

Now it is a case of deciding how many rolls we need…

Statement Staircases

The best thing about owning your own house is that you have full say on how it is decorated. It can be as sensible or as crazy as you want it to be. This has changed the way I have begun to find inspiration when thinking about how I could decorate a room. For example, on Saturday when out shopping I came across this staircase…

Tiled staircase

The photo isn’t great as it was taken on my phone. I just couldn’t lose the opportunity to take a photo to keep as a reminder for when I come to decorate the hallway. I suppose to some people it might have been obvious to use bright or vintage tiles to make the staircase more interesting, but for me I had always assumed the stairs would be carpeted. I had never really thought about doing anything else. In fact I can’t believe I have never thought about it before! I love that each tile is different but that they all tie in due to the colour scheme.

Tiles are not the only way to make a statement staircase. Look at these…

design-ties.blogspot.co.uk

How about using brightly coloured glass?

Or words?

enpundit.com/dream-staircase/

Ever dreamed about sliding down stairs to breakfast? I know I have.

daddytypes.com/2010/01/13/spiral_staircase_slide.php

Wood shavings inside the steps anyone?

How about brightly coloured painted stripes?


design-ties.blogspot.co.uk

Or a mosaic? I think this looks absolutely stunning although it’s a little bit too much for our 1930’s house.

blog.the-dot.co.uk/tag/mosaic-staircase/

Now it is just a case of answering this question: how brave am I?


I Love A Good Bargain!

It has been another week of bargain hunting for our new home and I am quite pleased with I have managed to find. Here they are:

  • My new bookends for the home office/craft room. I have a lot of books, both crafting ones and fiction, and these will be extremely effective at keeping them upright. I love that they are solid wood and also a bargain at £5!

Bookends

  • Picture frames for my wedding. These are getting painted white (along with the others) and will be used for the table numbers. These beauties were just 99p each and they amazing thing is that once the wedding is finished I will be able to make use of them. I will be filling them with our wedding photographs and making a feature with them on a wall in the living room.

Photo Frames

  • My silver bowl. At £3 I just couldn’t resist. I love the way it looks like someone has just taken silver paint and drizzled over the top of it. Even as I write this I wonder whether this effect could be re-created with some very thick paint on an old outdated bowl…hmmmm… It goes really well with the bargain lamp stand I picked up last week.

Bowl

I don’t think this is too bad for the total spend of £11.

‘What?? I Can Make That For A Fraction Of The Price!!!’

A couple of days ago myself and my hubby-to-be were on our way to a family wedding reception in Derby when we happened across a few small boutique type shops mingled with random charity shops. To be honest it was a good job it was an evening reception otherwise I would have been tempted to have a good nosy around and in all of our wedding finery…well…lets just say it’s better they were closed. But it did mean that I was desperate to find out just what type of shops they were and whether they had any interesting bits and bobs in them.

So on Saturday we decided to take a trip back to these little shops. Unfortunately most of them were too expensive, however, it was a great source of inspiration for future projects.

We went into a lovely little cafe for some lunch. It was decorated in a very shabby chic style and I just couldn’t help but take a few inspirational photos.

Up-cycled Bucket and Syrup Jar

I took a photo of the table number container as I not only like the idea of re-using something that would ordinarily go into the bin but also as possible way of putting table numbers on my wedding tables. Maybe with a plant inside??? Just yet another thought going around my head.

The bucket was particularly lovely as all the flowers were 3d and you could see all the brushstrokes in the paint. I am not completely sure what I would use the bucket for (desk tidy maybe??) but I do love the idea.

Painted and Distressed Wall Unit

I just love the ruggedness of this shelving unit. I like the idea of first painting it an unusual colour, such as blue, before painting it white to give it an added aspect to interest once it has been sanded back.

Quirky Blackboard

I think it would be nice to have something written on a whiteboard to make people smile as they enter the kitchen.

These are just a small selection of the things they had. I would have loved to take pictures of all of it, unfortunately I thought people wouldn’t appreciate me moving and climbing over them to get to the things I want to photograph.

We also went into one of those little shops that sell the painted furniture and accessories that have already had a ‘shabby chic’ makeover and then sell them on for an absolute fortune. I always look at them and wonder who buys this stuff? Surely they can see how easy it is to create? I can’t help but go around the shop telling my partner ‘I can do that myself for a fraction of the price’ over and over again to which he always nods his head to show he’s listening all the while probably thinking ‘You have said this all before’. I still like a good look around these shops as it’s a good way of getting inspiration. Here are just a small selection of the things I liked.

Driftwood Mirror

Just seeing this makes me want to go straight to the seaside to start collecting driftwood together.

Outdoor Tealight Holders

I think I could make this by putting glass paint into jars to colour the glass and decorating wire with beads and shaped around the jar to create the handle. I do think they are really pretty and add a lovely touch to any garden party or bbq.

Multiple Photo Frames on a Wooden Stand

I think this is a brilliant idea to add an interesting detail to any shelf or window sill. It will definitely be something I will be trying once I have scoured charity shops looking for some chunky wooden photo frames.

Chopping Board

I think this is awesome and I wonder whether I would be able to make one if I found a slice of wood (if that is even possible) and sanded and varnished it up.

It would be good to hear you thoughts. How would you go about re-creating some of these things? Where do you get your inspiration from? What have you created recently?